pfSense router-on-a-stick VLAN configuration with a Brocade ICX7000 series switch
Last revised 7 March 2021.
Contents
- Introduction
- Brocade 7000 series overview
- Console connection
- Factory reset
- Upgrade firmware
- Configuration
- Apply advanced licences(7250)
- Apply advanced licences(7450)
- Enable non-Brocade optic monitoring
- Configure hostname
- Enable SSH
- Configure user access
- Disable telnet login
- Configure default route
- Configure DNS
- Configure NTP
- Configure SNMPv2
- Create and Configure VLANS
- Configure trunk to pfSense
- Configure trunk to WiFi access point
- Configure access port for VL10_MGMT
- Configure access port for VL20_VPN
- Configure access port for VL30_CLRNET
- Configure access port for VL40_GUEST
Introduction
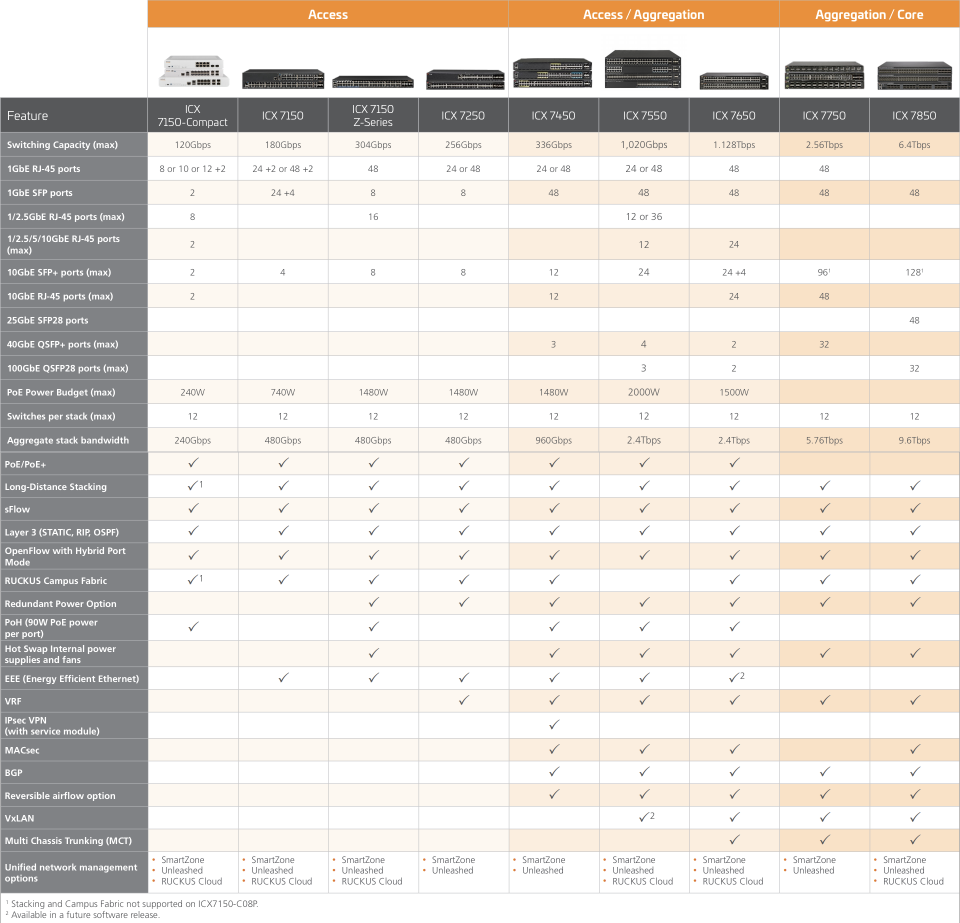
Brocade switches are true enterprise class switches recently becoming available very cost effectively through the used channels. This range of switches includes models with high end performance and functionality including 2.5/5/10/40/100gbps connections, extensive PoE/PoE+/PoH, stacking & hot-swappable PSUs etc.
Brocade 7000 series overview
Console connection
The initial configuration will be performed via a console cable. Please ensure you have the correct cable and connect to the appropriate port. Some models have ports that look like mini-USB ports but are actually serial ports. Connecting a regular USB cable can damage the console port so please refer to the documentation to verify.
Connect your serial terminal at 9600 baud, 8 data bits, No parity, 1 stop bit.
Factory reset
Power up the switch and hold down ‘b’ to enter boot configuration.
If you miss the prompt, unplug and restart.
Ruckus Wireless Bootloader: 10.1.15T215 (Jan 30 2019 - 23:08:27)

Validate Shmoo parameters stored in flash ..... OK
Restoring Shmoo parameters from flash .....
Running simple memory test ..... OK
 ICX7450 Copper (POE), PVT1
SYS CPLD VER: 0x12, Released Ver: 0

Enter 'b' to stop at boot monitor:  0
ICX7450-Boot>
remove any previously configured passwords
ICX7450-Boot> no password
reset the switch to factory default
ICX7450-Boot> factory set-default
reboot the switch
ICX7450-Boot> reset
Verify firmware
When the switch finishes booting, verify the version of firmware installed, in this case Version 08.0.90dT213 is installed.
System initialization completed...console going online.
  Copyright (c) Ruckus Networks, Inc. All rights reserved.
    UNIT 1: compiled on Sep 23 2019 at 00:00:25 labeled as SPR08090d
      (32539748 bytes) from Primary SPR08090d.bin (UFI)
        SW: Version 08.0.90dT213
      Compressed Primary Boot Code size = 786944, Version:10.1.15T215 (spz10115)
       Compiled on Thu Jan 31 07:08:44 2019
Verify this matches the recommended firmware from the manufacturers web site.
If not, proceed with the firmware update, otherwise move on to Configuration.
Upgrade firmware
Enter privileged EXEC mode. The command prompt will indicate the switch is in privileged EXEC mode by replacing the > with # prompt
device> enable
Enter global configuration mode. The command prompt will reflect the mode change with (config)
device# configure terminal
Apply temporary configuration
Give default VLAN 1 an IP address so it can communicate with our tftp server
device(config)# vlan 1
device(config-vlan-1)# router-interface ve 1
device(config-vlan-1)# interface ve 1
device(config-vif-1)# ip address 192.168.10.2/24
device(config-vif-1)# write mem
device(config-vif-1)# exit
Return to privileged EXEC mode
device(config)# exit
Transfer firmware files
device# copy tftp flash 192.168.10.43 spz10115.bin bootrom
device# copy tftp flash 192.168.10.43 SPR08090dufi.bin primary
Update Power other Ethernet (PoE)
device# inline power install-firmware stack-unit 1 tftp 192.168.10.43 icx7xxx_poe_02.1.1.b002.fw
device# show inline power detail
Save configuration
device# write mem
reboot
device# reload
Proceed again from the Factory Reset section.
Configuration
This guide will configure the switch as follows:-
- Add premium licences (10g, l3-prem, MACsec)
- Enable 3rd party optic monitoring
- Configure IP address of
192.168.10.2in the VL10_MGMT subnet. - Configure VLANs for VL10_MGMT, VL20_VPN, VL30_CLRNET, VL40_GUEST
- Configure a trunk port to pfSense
- Configure a trunk port to a wifi access point
- Configure access ports for VL10_MGMT, VL20_VPN & VL30_CLRNET subnets
- Configure switch with hostname, DNS, NTP and SNMPv2
- Enable user access control (SSH, web)
Enter configuration mode
Enter privileged EXEC mode.
device> enable
Apply advanced licences(7250)
Unlock advanced features of the ICX7250 switch
- 10G ports: Unlocks 8 x 10Gb Ethernet ports
- l3-prem: Unlocks OSPFv2, OSPFv3, VRRP, VRRPv3, VRRP-E, GRE, PBR, PIM-SM, PIM-SSM, PIM-DM, PIM Passive, BGP, BGP4+ (IPv6) & VRF (IPv4, IPv6)
device# license install perpetual 1 8x10g
device# license install perpetual 1 l3-prem
Apply advanced licences(7450)
Unlock advanced features of the ICX7450 switch
- MACsec: Media Access Control Security is a Layer 2 security technology that provides point-to-point security on Ethernet links between nodes.
- l3-prem: Unlocks OSPFv2, OSPFv3, VRRP, VRRPv3, VRRP-E, GRE, PBR, PIM-SM, PIM-SSM, PIM-DM, PIM Passive, BGP, BGP4+ (IPv6) & VRF (IPv4, IPv6)
device# license install perpetual 1 macsec
device# license install perpetual 1 l3-prem
Enter global configuration mode
device# configure terminal
Enable non-Brocade optic monitoring
Starting in v8080 firmware Ruckus added a command to enable optical monitoring details for non-Brocade branded optics.
device(config)# optical-monitor
device(config)# optical-monitor non-ruckus-optic-enable
Configure hostname
Substitute ‘mySwitch’ hostname as required.
device(config)# hostname mySwitch
Enable SSH
device(config)# crypto key generate rsa
Configure user access
Change default username super and password from sp-admin to something complex.
device(config)# username super password somethingSuperStrongAndSuperSecret
device(config)# enable aaa console
Enable user authentication for SSH, privileged EXEC and web interfaces. Substitute myUser and myPassword as required
device(config)# username myUser password myPassword
device(config)# aaa authentication login default local
device(config)# aaa authentication enable default local
device(config)# aaa authentication web default local
Disable telnet login
device(config)# no telnet server
Configure default route
Enable a default route to reach external IP’s (NTP, DNS servers etc). 192.168.10.1 is our pfSense router configured as part of the baseline guide.
device(config)# ip route 0.0.0.0/0 192.168.10.1
Configure DNS
Enable DNS lookups to resolve services by name. the domain local.lan is as set in the pfSense baseline guide.
device(config)# ip dns domain-list local.lan
device(config)# ip dns server-address 192.168.10.1
Configure NTP
This configures the switch to:-
- obtain accurate time from the upstream pfSense on the VL10_MGMT (192.168.10.0/24) management interface.
- not serve NTP time to downstream devices.
- The switch will adjust for daylight saving time.
device(config)# clock summer-time
device(config)# clock timezone gmt gmt+00
device(config)# ntp
device(config-ntp)# disable serve
device(config-ntp)# server 192.168.10.1
device(config-ntp)# exit
Configure SNMPv2
If needed, configure SNMPv2 logging. Replace ‘myAdmin’ and ‘myLocaion’ as preferred.
device(config)# snmp-server community public ro
device(config)# snmp-server contact myAdmin
device(config)# snmp-server location myLocation
Create & Configure VLANs
device(config)# vlan 10 name VL10_MGMT
device(config-vlan-10)# vlan 10
device(config-vlan-10)# router-interface ve 10
device(config-vlan-10)# interface ve 10
device(config-vif-10)# ip address 192.168.10.2/24
device(config-vif-10)# exit
Create VLAN 20
device(config)# vlan 20 name VL20_VPN
device(config-vlan-20)# exit
Create VLAN 30
device(config)# vlan 30 name VL30_CLRNET
device(config-vlan-30)# exit
Create VLAN 40
device(config)# vlan 40 name VL40_GUEST
device(config-vlan-40)# exit
Configure trunk to pfSense
Port 1/2/1 is used as a trunk as its a 10gb port.
Two modes of configuration are illustrated depending on your preference and security considerations.
Permit only tags 10,20,30 & 40 to traverse the trunk.
device(config)# vlan 1
device(config-vlan-1)# untagged eth 1/2/1
device(config-vlan-1)# interface ethernet 1/2/1
device(config-if-e10000-1/2/1)# vlan-config add tagged-vlan 10 20 30 40
device(config-if-e10000-1/2/1)# exit
Alternatively, enable all tags to transfer across the trunk connection.
device(config)# vlan 1
device(config-vlan-1)# untagged eth 1/2/1
device(config-vlan-1)# interface ethernet 1/2/1
device(config-if-e10000-1/2/1)# vlan-config add all-tagged
device(config-if-e10000-1/2/1)# exit
Configure trunk to WiFi access point
Configure port 1/1/26 to have untagged VLAN 10, and tagged 20,30 & 40.
device(config)# vlan 10
device(config-vlan-10)# untagged ethernet 1/1/26
device(config-vlan-10)# interface ethernet 1/1/26
device(config-if-e10000-1/2/26)# vlan-config add tagged-vlan 20 30 40
device(config-if-e10000-1/2/26)# exit
Configure access port for VL10_MGMT
device(config)# vlan 10
device(config-vlan-10)# untagged eth 1/1/2
device(config-vlan-10)# exit
Configure access port for VL20_VPN
device(config)# vlan 20
device(config-vlan-20)# untagged eth 1/1/3
device(config-vlan-20)# exit
Configure access port for VL30_CLRNET
device(config)# vlan 30
device(config-vlan-30)# untagged eth 1/1/4
device(config-vlan-30)# exit
Configure access port for VL40_GUEST
device(config)# vlan 40
device(config-vlan-40)# untagged eth 1/1/5
device(config-vlan-40)# exit
Save configuration
device(config)# write mem
and reboot (from EXEC mode)
device(config)# reload
References
Ruckus FastIron Management Configuration Guide, 08.0.92
Changelog
7 March 2021
Alternative configuration for trunk to pfSense configuration added
1 March 2021
Added access port for VL10_MGMT configuration